
Our offer is only for you if you are of legal age. Please confirm that you are at least 18 years old to proceed.


Setting Up a Hookah – How to Assemble Your Hookah Step by Step
 Updated May 16, 2025 8 min
Before you can enjoy your new hookah, you first have to set it up. Some models arrive pre-assembled and make it easier to get started, but in most cases that's not the case. At the latest when you want to clean your hookah thoroughly, you should know how to put it back together correctly. The majority of the hookahs on the market are delivered in individual parts. When assembling a hookah there are therefore a few sources of error: tubes can be screwed together incorrectly, connections not put together as intended, and what are these balls for anyway? In this practical guide we show you how to set up your hookah correctly. We also show you what an assembled pipe looks like and guide you step by step through the entire process.
Quick overview
- Why you should know how to set up your hookah
- Step-by-step instructions for the assembly
- Tips on base, downstem, smoke column and glasses
- Notes for special setups like 4-hose hookahs
- Video instructions for Moze and Amotion models
At the end of this article we've also linked a few video instructions, so that you always know exactly what to do with our hookahs. We hope you'll find everything you need in this little helper. And now we wish you a lot of fun setting up your hookah.
Step by Step - How to Set Up Your Hookah
So that you don't get stuck and your draw doesn't feel like a deep pull from a stovepipe, we've written the following step-by-step assembly guide for you with notes on the most common sources of error, so that in future you'll master the assembly of any hookah like a pro.
Step 1: Open the Box and Lay Out the Individual Parts
Many manufacturers design their packaging so that the individual parts are already pre-sorted in the box. The order and the assignment of the individual parts are thus suggested from the start. Generally, the glasses are in the lower part of the box and the individual parts of the hookah in the levels above. Before you start, you should prepare a level work surface – an empty table is ideal. Then unpack all the parts, remove the protective packaging and lay the individual parts neatly next to each other. This way you keep the best overview of all the components of your hookah.
Step 2: The Top of the Base
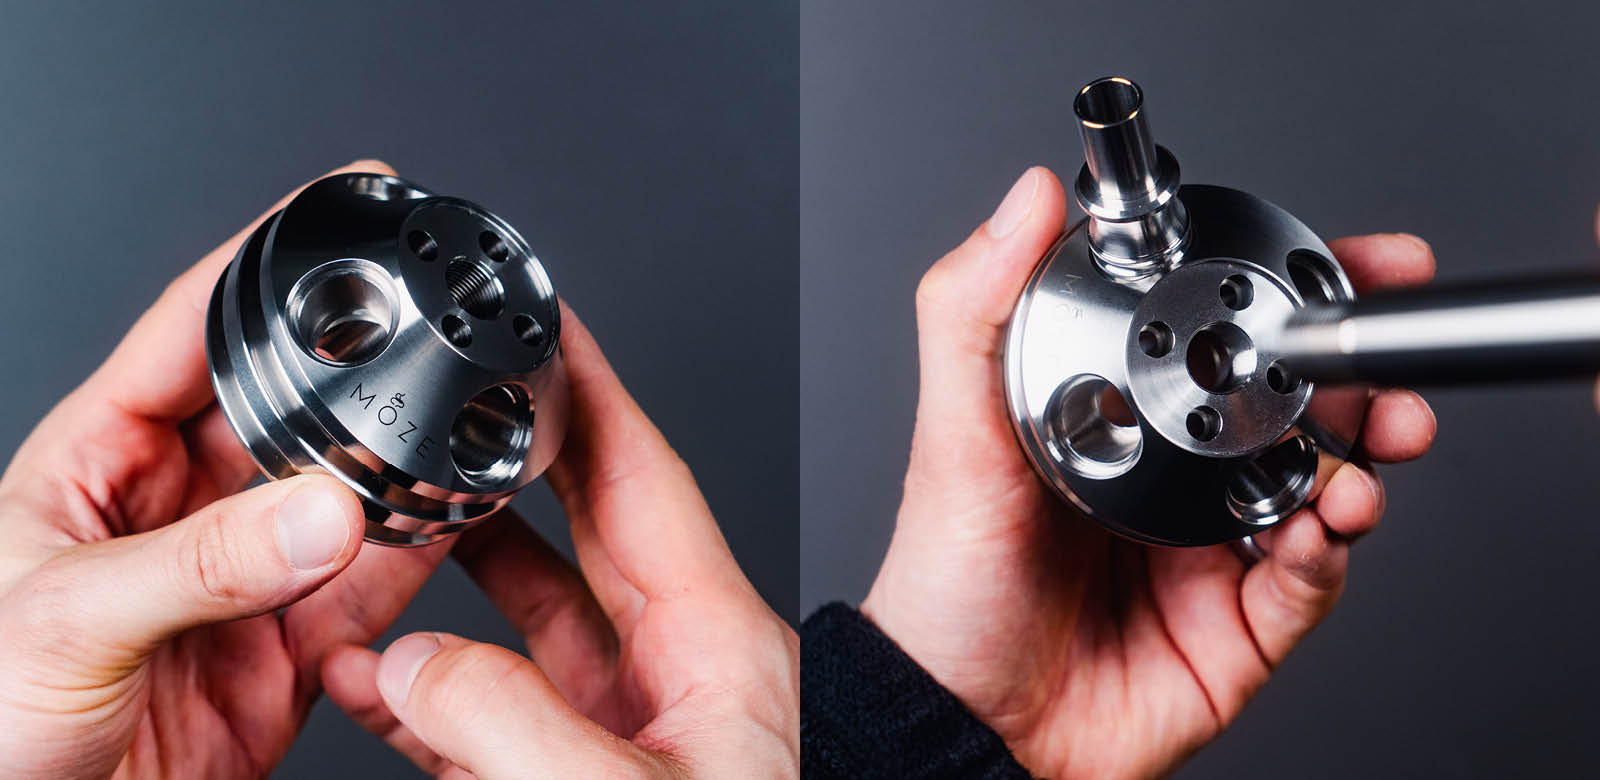
Depending on the model, the base of the hookah may arrive fully pre-assembled (this is the case with the Amotion FUTR, for example). Here, however, we assume that your hookah does not arrive pre-assembled. A base that is not yet pre-assembled usually has several holes with different diameters. The central hole is intended for the smoke column, the smaller holes around the middle are needed for the blow-off. The small valve balls that come with the pack go into these openings. The hole(s) on the very outside are for the hose connectors. Depending on the design, these can simply be plugged in or screwed in there. Usually you only insert the hose connector into the base once all the other parts of the hookah have already been mounted, as it could otherwise get in the way while assembling the other parts.
Special Considerations When Assembling a Four-Hose Hookah
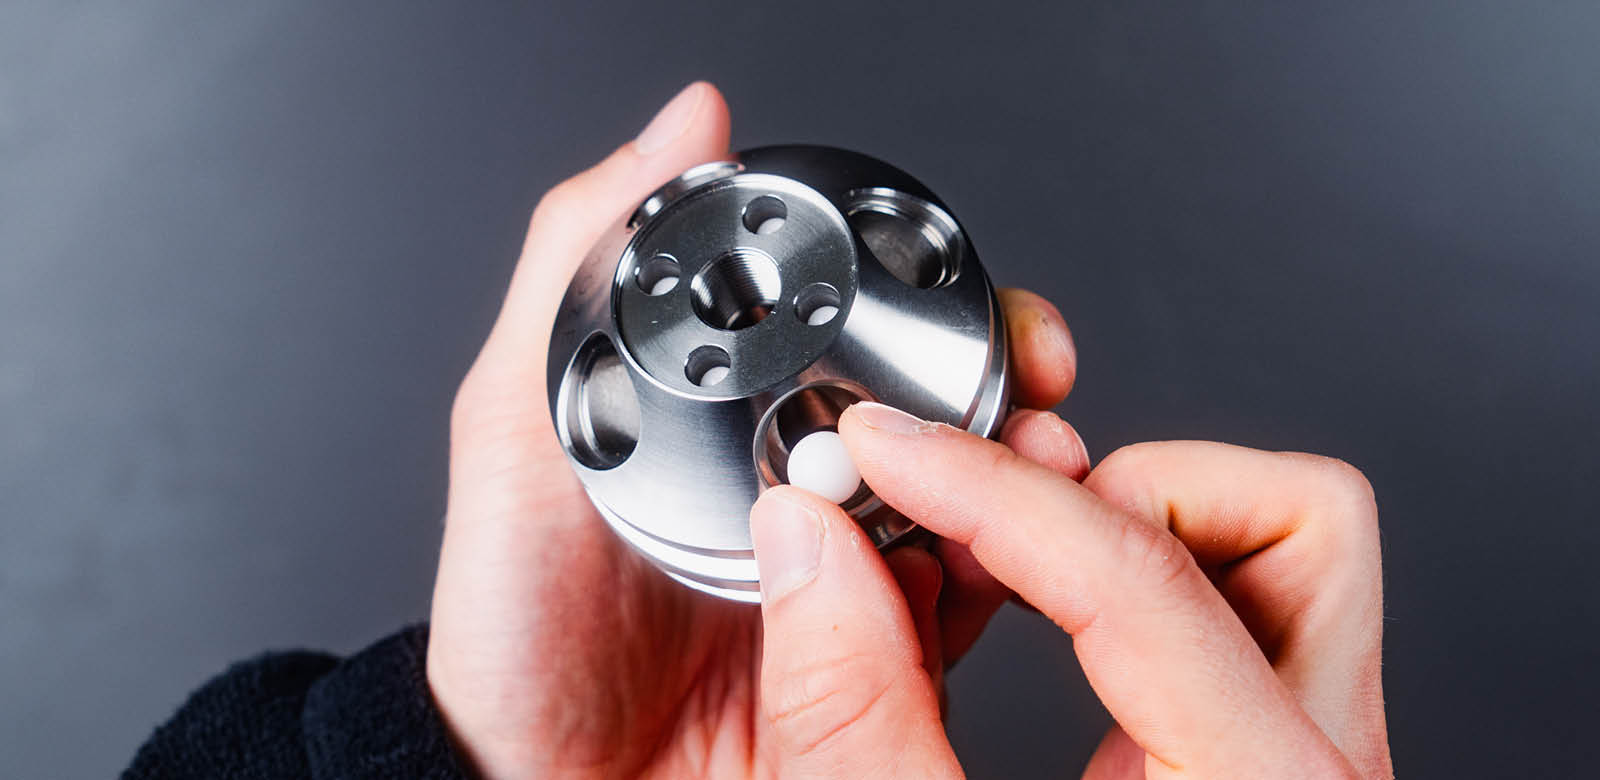
With a hookah with four connectors, balls additionally go into the hose connectors. There are various ways to use a four-hose hookah, so depending on your preference it's advisable to vary the number of balls. In the event that you want to smoke a hookah with four people/connectors, you should insert all the balls into the hose connectors. If you use your 4-hose hookah alone, you can do without the ball in your own hose connector. This way it's possible to use the other three hose connectors as a blow-off. If you leave the ball in your connector, it closes off the passage when you blow into it and the smoke can't be blown out.
Step 3: Screw In the Downstem
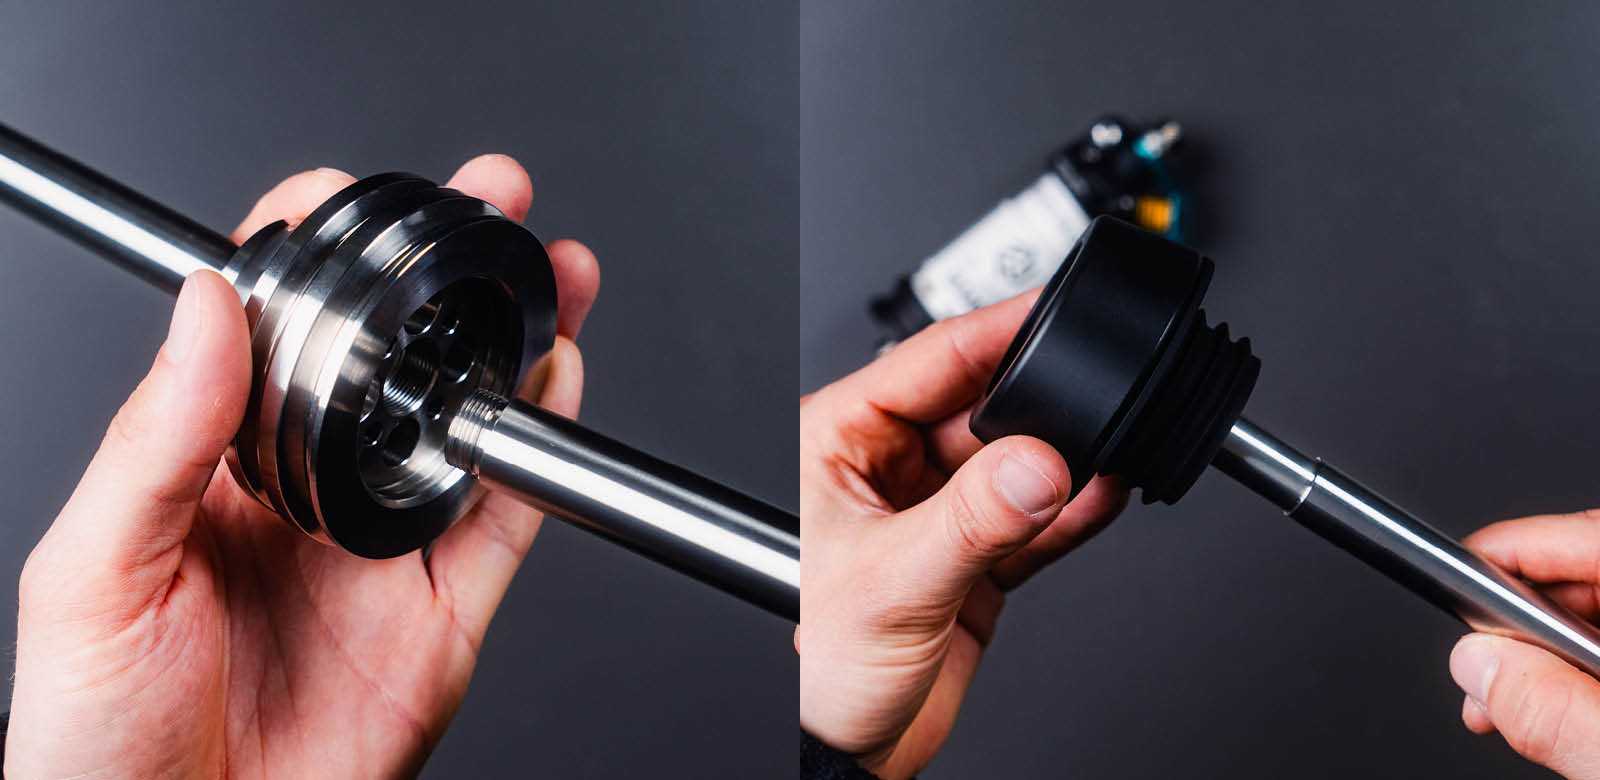
Every hookah has a different downstem. As a rule it should be a stainless steel tube into which at least one thread has been cut. On the underside of the base there is the corresponding hole into which the downstem is screwed. However, there are also hookahs where the downstem is simply pushed through the base and then screwed to the smoke column (or a ring element) on the top. The base itself then does not have its own thread. It is then, so to speak, „clamped" between the two parts.
Diffusers
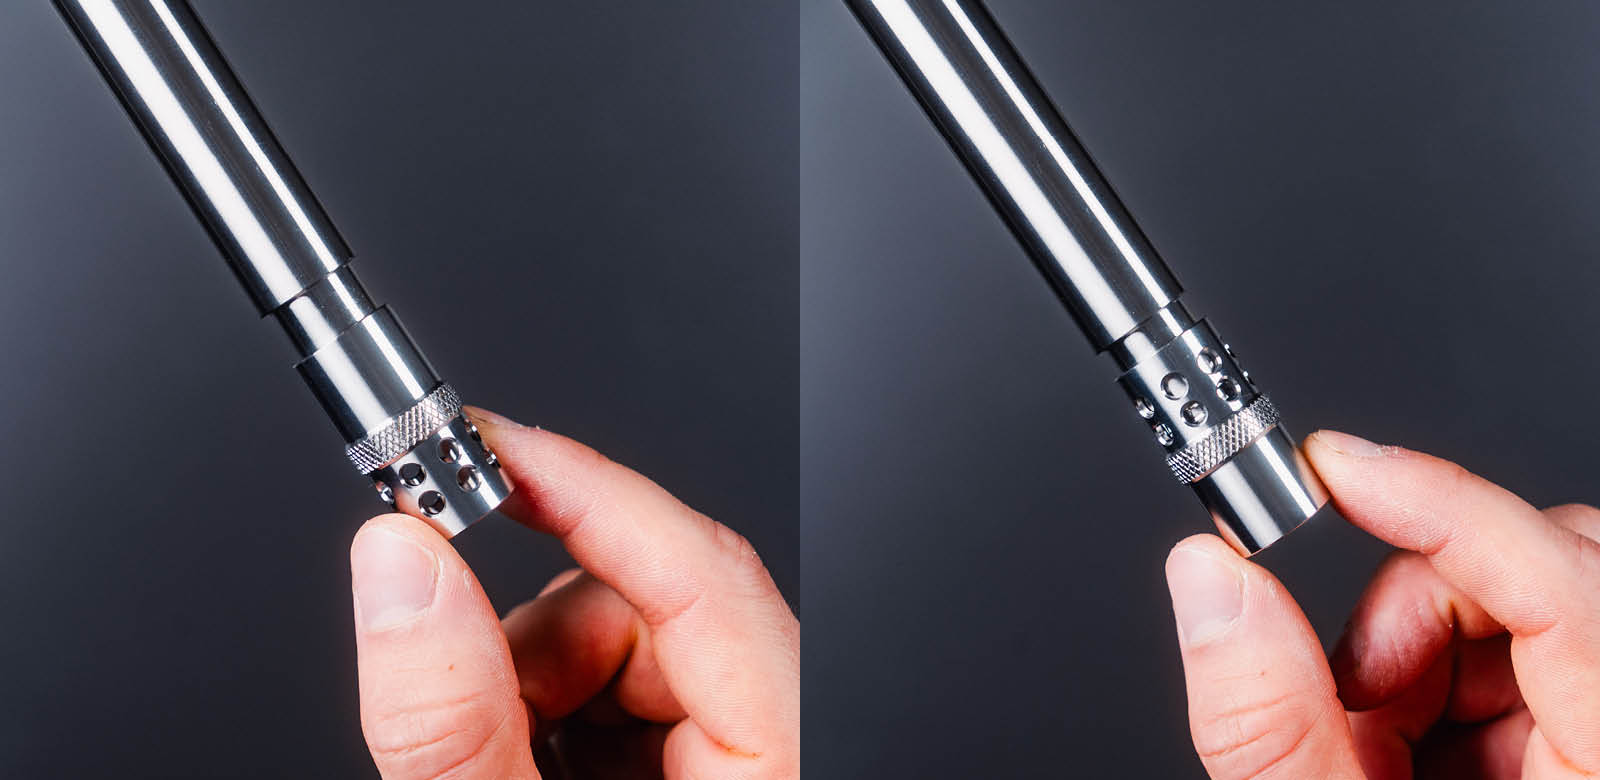
By and large, we distinguish between four different kinds of diffusers/downstems.
- There are models that do not have a diffuser and therefore smoke much louder. If noise is an issue in your living situation, we'd like to strongly recommend that you inform yourself about this beforehand, as the differences can be enormous.
- There are models with an integrated diffuser. The holes are then directly in the stainless steel tube.
- There are models with a screw-on diffuser. Depending on your preferred use, you can use or remove the diffuser.
- There are variable diffusers. Some diffuser models are designed with 2 threads. Depending on which side you screw the diffuser on from, you can then smoke with or without a diffuser, without running the risk of losing it.
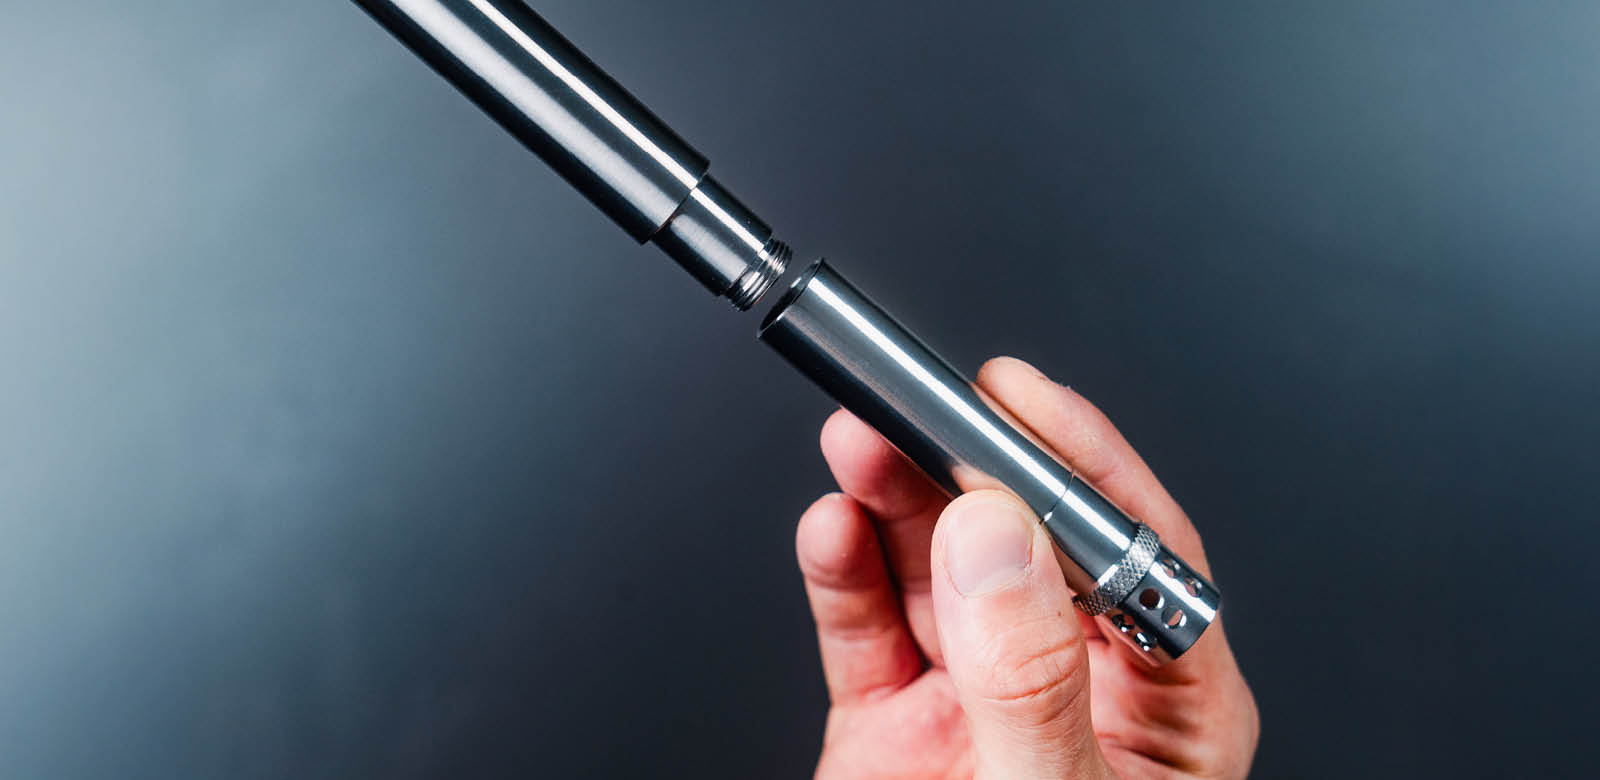
Some hookah models offer the option of splitting the downstem. In that case you have to decide whether you screw the two parts of the downstem together in order to smoke your hookah with larger glasses, or whether you screw the diffuser directly onto the short piece, put the superfluous part back in the box and then smoke the hookah on small glasses. The length of the downstem and the smoke column changes the draw behavior of the hookah a little. It's best to try out beforehand which option you prefer.
Step 4: The Smoke Column
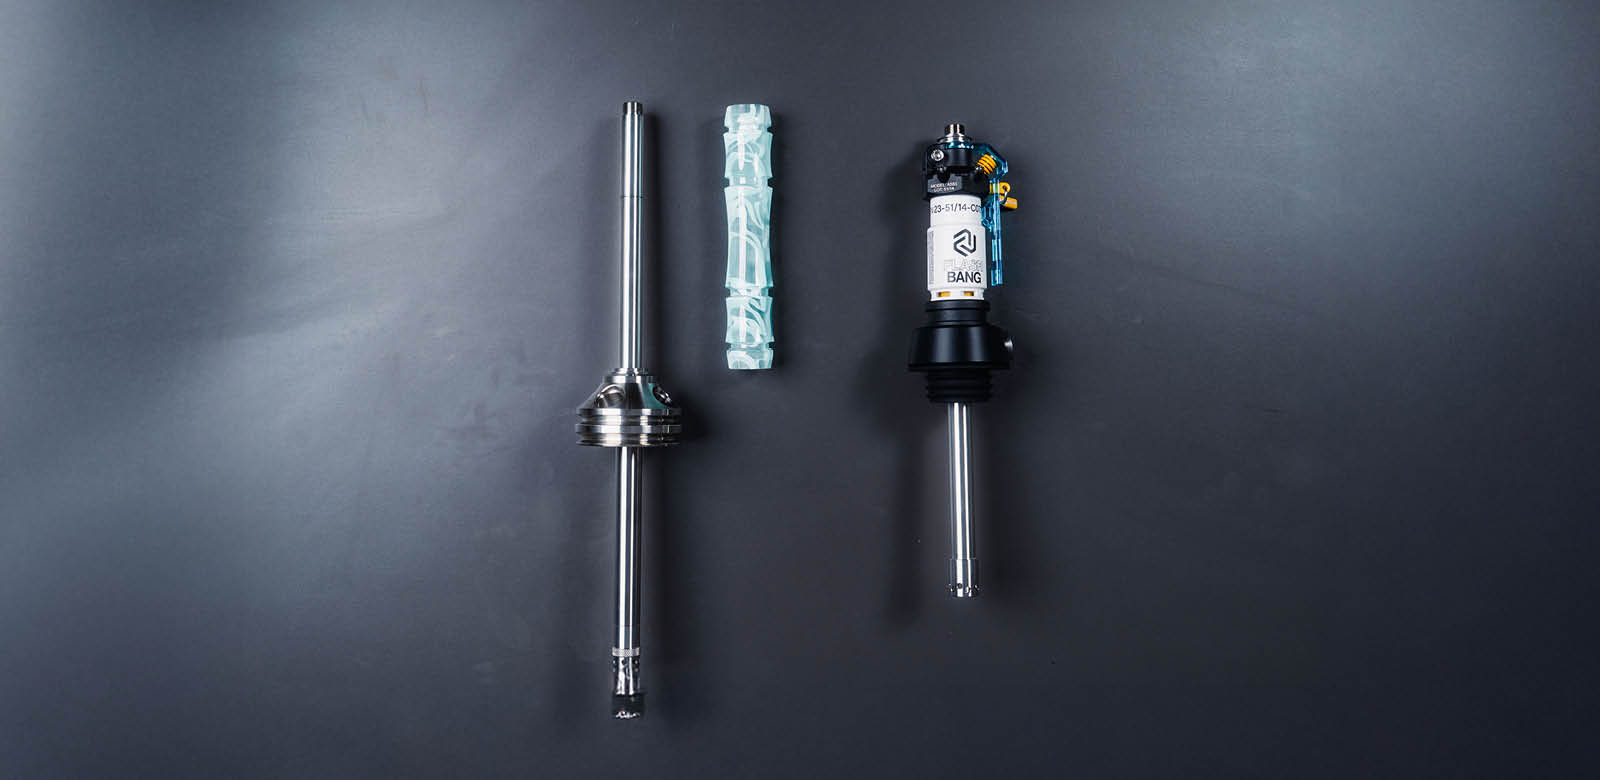
Smoke columns are often the showpiece of a hookah, which is why there are various ways in which they are put together. Some consist of a solid tube, over others a sleeve is pushed, and then there are also smoke columns that are assembled from several parts. And among the smoke columns too there are divisible versions. A shorter smoke column affects the smoking characteristics just like a shorter downstem, but it can also drastically change the look of a pipe. If your hookah has an exchangeable sleeve, it is pushed over the smoke column after the tube has been mounted. With some hookahs there is a large selection of different individual sleeves.
Step 5: Charcoal Plate and Bowl Adapter
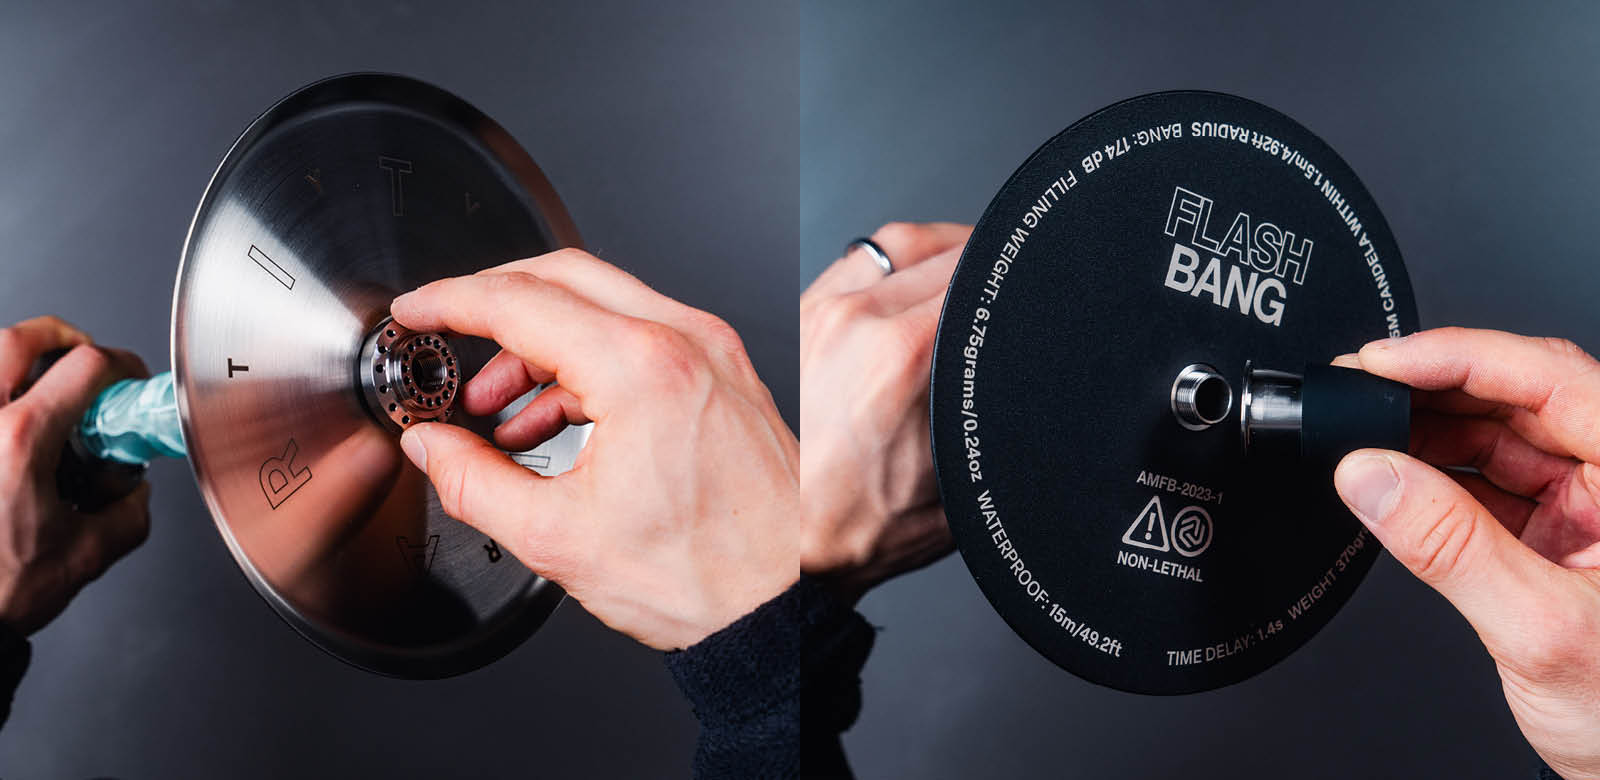
Now place the hookah charcoal plate onto the smoke column, so that either the thread of the smoke column pokes through the hole in the middle of the plate or the thread in the column is visible through the hole in the plate. Now you screw the bowl adapter onto the thread and the charcoal plate is firmly in place.
Step 6: Glasses and Hose
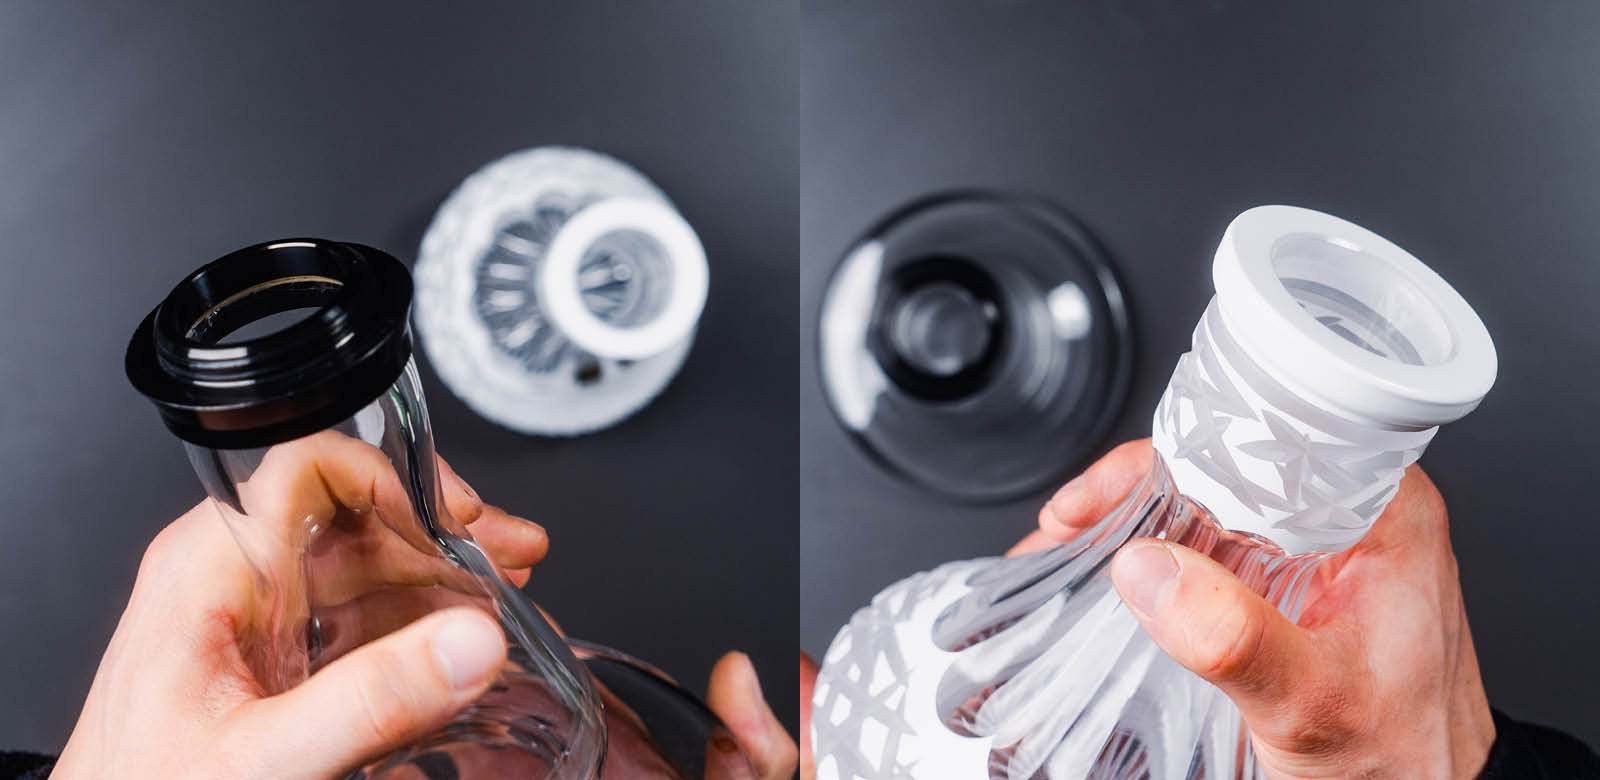
In general, we distinguish between plug-in glasses and screw glasses. If your glasses have a screw thread, you simply screw the finished hookah onto the glasses thread. With plug-in glasses, you first push a glasses grommet onto the base so that the hookah sits firmly and airtight on the glasses.
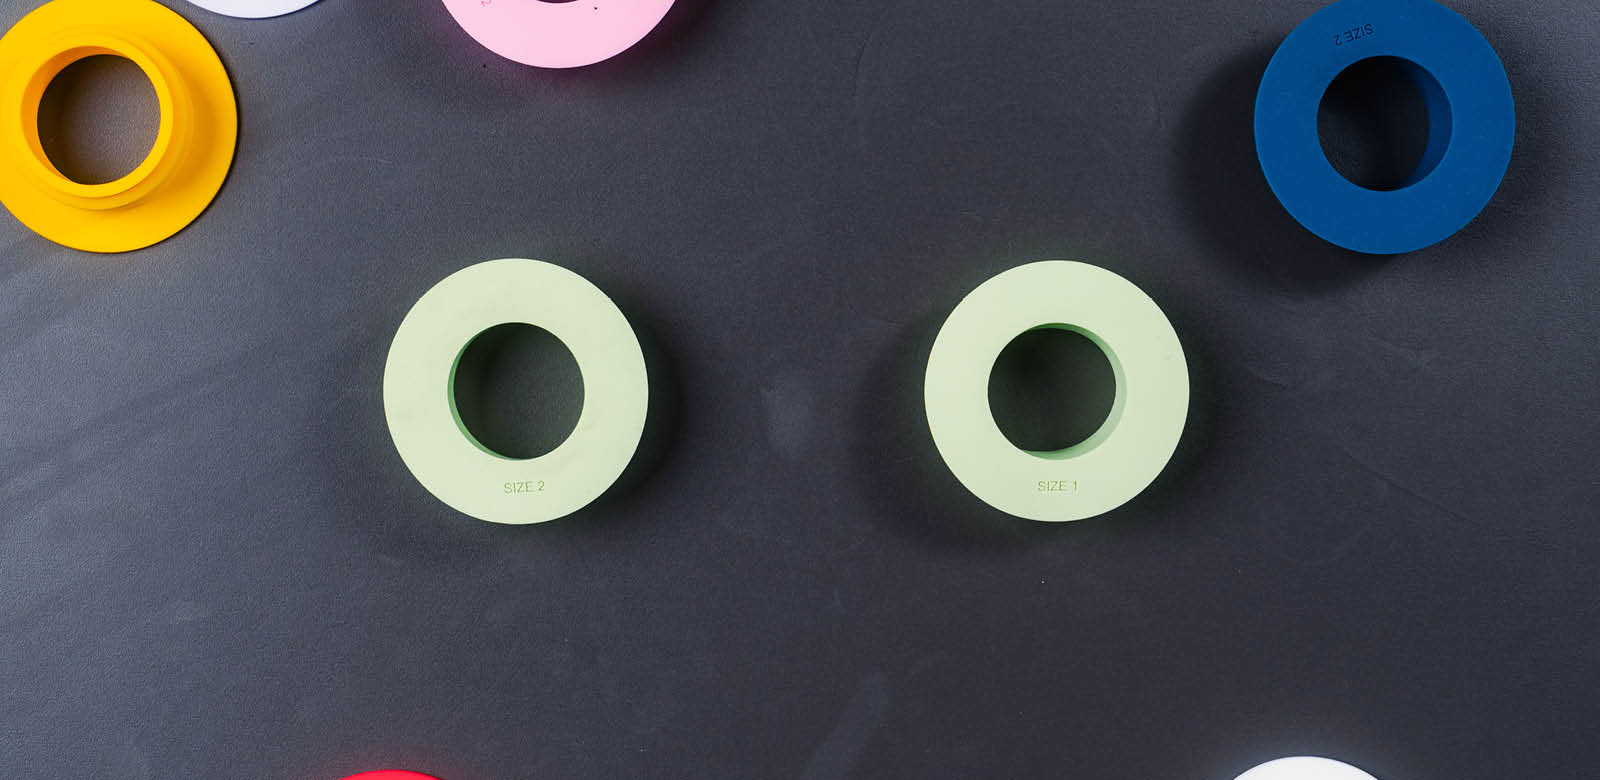
Note: All glasses are subject to production-related variations. Especially with handmade glasses, the neck diameter can be larger than the standard value. If your smoke column does not seal airtight, we recommend using a slightly wider rubber grommet, such as the Size 2 grommet from our Perfect Fit grommet set.
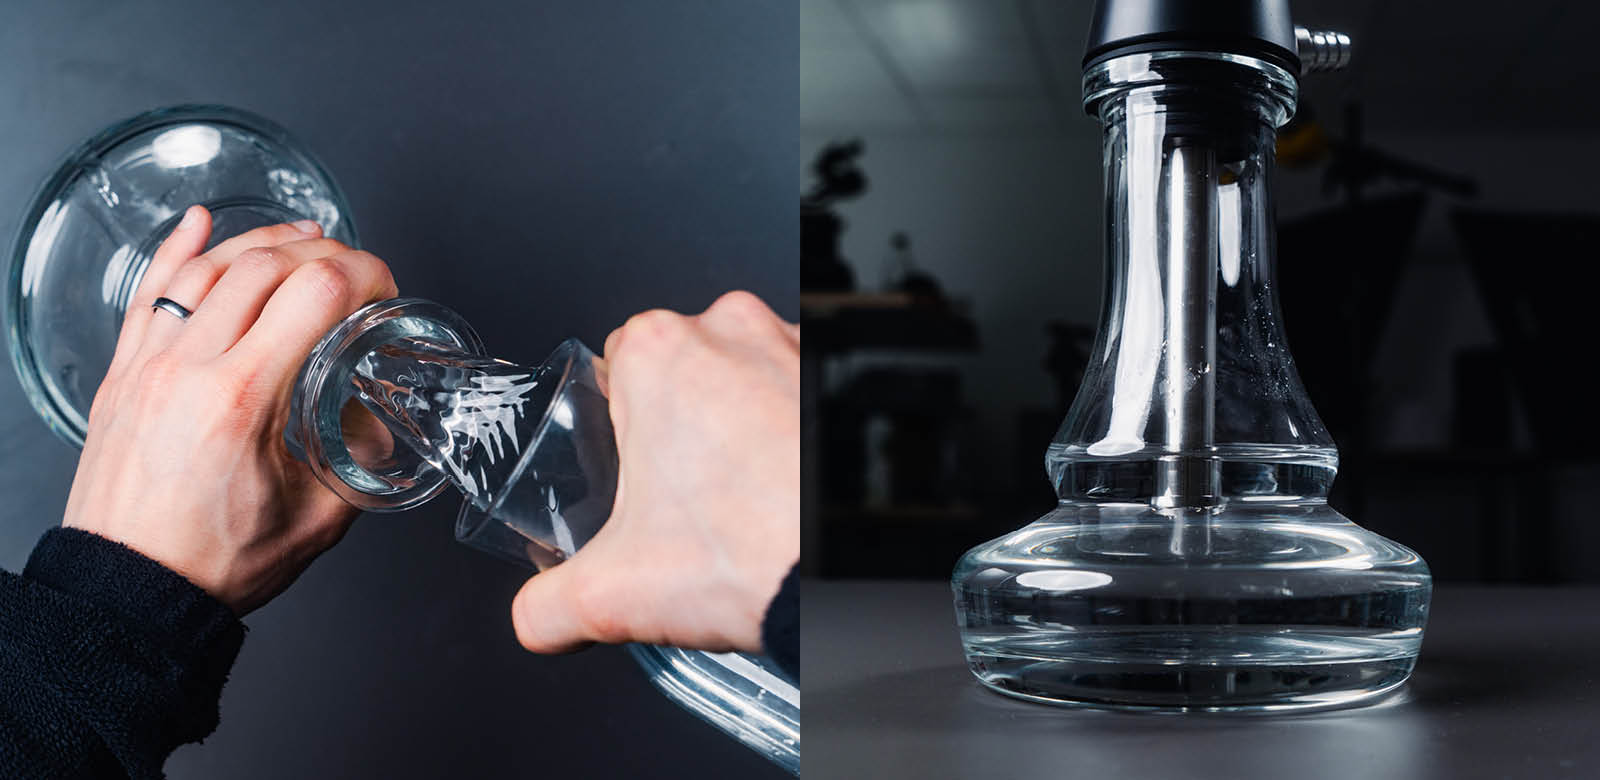
To be able to smoke the hookah, it still has to be filled with water. The optimal fill level is in most cases reached when the downstem protrudes about 1.5–2 cm deep into the water. It's therefore advisable to first connect the assembled hookah with the glasses and to keep topping up/pouring off until the optimal level is reached. Alternatively, you can also put the hookah into the glasses and use a washable pen to draw a mark where you think the water level should be. Then you only have to fill the water up to the line.
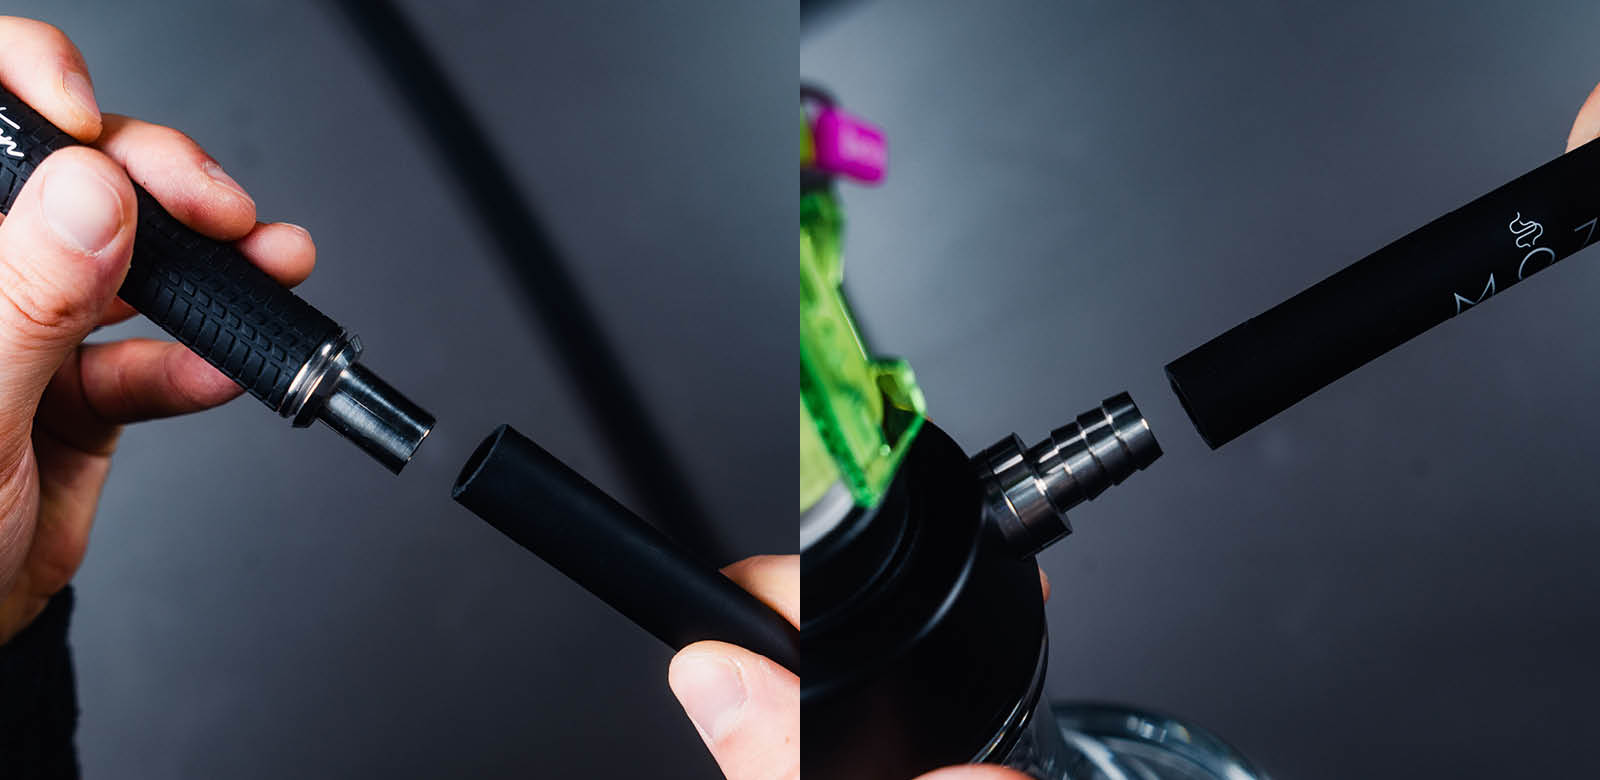
To prepare the hookah hose, you first have to plug the hose adapter and the mouthpiece onto the hose. Lastly, you plug the adapter into the base and your hookah is ready! You probably want to get started right away and treat yourself to a nice bowl. So light a few coals, prepare a bowl and enjoy your new hookah! If you're still a beginner, or you'd like to improve your technique in this regard, we have two helpful articles for you here.
If you're completely new to the topic of hookah, you should take a look at our Hookah Beginner Guide. There we explain to you briefly and clearly everything you should know about hookahs. In addition, in our Hookah Knowledge section you can find more useful articles all around the topic of hookah, hookah accessories and hookah tobacco, if you have questions about this topic of hookah.
And here are the assembly instructions we promised above:
- How to set up your Breeze Two
- How to set up your Breeze Pro
- How to set up your Sphere 2
- How to set up your Varity
- How to set up your Tradi
- How to set up your FUTR
- How to set up your Flash Bang
- How to set up your Valve
We hope we were able to answer your questions. If you still have questions, feel free to write us an email at: info@mozeshisha.de or to ask our customer service. And now we wish you a lot of fun with your perfectly assembled hookah.
FAQ: Setting Up a Hookah - Step by Step Instructions
How do I prepare my hookah for assembly?
Lay out all the individual parts of the hookah neatly on a level surface. Remove protective packaging and keep track of the components.
How do I assemble the base of my hookah correctly?
Insert valve balls into the small openings of the base and screw the smoke column into the central hole. Ideally, you mount the hose connectors only later.
What do I need to consider when assembling a 4-hose hookah?
If you use all connectors, insert balls into all hose connectors. When smoking alone, you can do without the ball in your own connector in order to use the blow-off function.
How do I connect the downstem to the hookah?
Screw the downstem either directly into the base or screw it to the smoke column, depending on the model. Pay attention to the correct attachment of the diffuser, if present.
How is the charcoal plate mounted?
Place the charcoal plate onto the smoke column and fix it with the bowl adapter by screwing it on.
How do I connect the hookah to the glasses?
With screw glasses, screw the hookah onto the glasses thread. With plug-in glasses, you use a suitable grommet so that the connection is airtight.
How much water should I fill into the hookah glasses?
Fill in enough water so that the downstem stands about 1.5–2 cm deep in the water. Alternatively, you can mark the optimal height on the glasses beforehand.
You might also be interested in
Knowledge